
And because you’re here reading What does a realistic practice pathway look like after a fine-line tattoo course?, I’m guessing you’re pretty serious about turning those early strokes into confident, clean, client-ready tattoos. And that’s a great start – you’ll already have a head start on most new artists who jump into tattooing with big dreams but little idea what happens next. Many students finishing a fine-line tattoo course arrive with big plans and a lot of questions about what to do next, which is exactly what we’re going to cover today.
This guide breaks down what happens after you graduate from your fine-line course, how to practice safely, how long each phase will take, and what I’ve found works best for both total beginners and folks who already do PMU (permanent makeup) and are looking to cross over into professional tattooing.
Contents
- 1 What Happens After A Course?
- 2 Your First Weeks: Building Muscle Memory Without Skin Stress
- 3 Phase Two: Level Up To 3D Practice Materials
- 4 Moving Onto Real Models: Slow, Supervised, And Structured
- 5 How Long Until You Can Tattoo Independently?
- 6 Building Your Tattoo Portfolio The Right Way
- 7 Safety, Hygiene, And Melbourne’s Regulations
- 8 Developing Your Signature Style
- 9 Pricing: When You Should Start Charging
- 10 When You’re Ready For A Studio Role
- 11 Final Reflection — And A Quick Encouragement If You’re On This Path
- 12 FAQ
What Happens After A Course?
You’ll move through a pathway that’s been mapped out – from practising on synthetic skin to 3D mediums, then on to small supervised tattoos, and eventually to doing independent work once your lines start coming out consistently crisp. For students who’ve done a fine-line tattoo course, this pathway is pretty essential because it lets you build your skills at a pace that feels right for your hands, eyes, and brain to adapt to fine-line precision.
Your First Weeks: Building Muscle Memory Without Skin Stress
Even after you’ve got some proper training under your belt, your hands still won’t have the fine motor control you need to do steady, confident linework. This first phase is the foundation of fine line tattoo training, where repetition becomes your best friend and muscle memory starts to kick in.

Why This Stage Matters
- Fine-line tattooing is all about using tiny movements, not just a lot of pressure.
- If you get the depth wrong early on, it can affect how the pigment settles in and what your finished tattoo looks like.
- Your hand needs to learn how to move the needle instinctively – not by guessing what will work.
What You’ll Practise
- Doing grids to get your linework down.
- Mastering controlled curves and tapered strokes.
- Getting to grips with single-needle configurations and the difference between rotary and coil machine feel.
- Practising with different machine types on artificial skin.
Melbourne Insight
I’ve noticed that our cooler winter months make your hands a lot stiffer – it’s always the same in my studio training sessions. It’s a simple thing, but if you build up your hand strength and keep your tattoo machine grip nice and warm, you’ll find it makes all the difference to your lines.
Phase Two: Level Up To 3D Practice Materials
Synthetic skin is great for building the basics, but it’s not going to prepare you for how needles feel on curved surfaces. That’s where 3D practice mediums come in – they’re the next step up, and anyone serious about doing fine-line tattoo in Melbourne will tell you that clients expect flawless results all over the body – not just on the flat bits.
Why You Need This Stage
- Clients don’t come with flat arm or leg skin – you need to learn how to deal with curves.
- You need to learn how to adjust your needle configurations and machines to get the best results on rounded surfaces.
- You need to practice on different skin types and get a feel for how design transfer and stencil adhesion work on skin that’s not flat.
- And you need to understand how pigment layering affects the final result.
Real Studio Example
I had a student in my studio who could do flawless straight lines on synthetic skin, but every time they tried to do a curved line on a client, they’d unintentionally curve it. After just two weeks of practising on 3D mediums, their accuracy improved by a whopping 70 per cent (I’ve got the comparison apps to prove it). This stage is the one that really separates people who are just playing at tattooing from people who are serious about it.
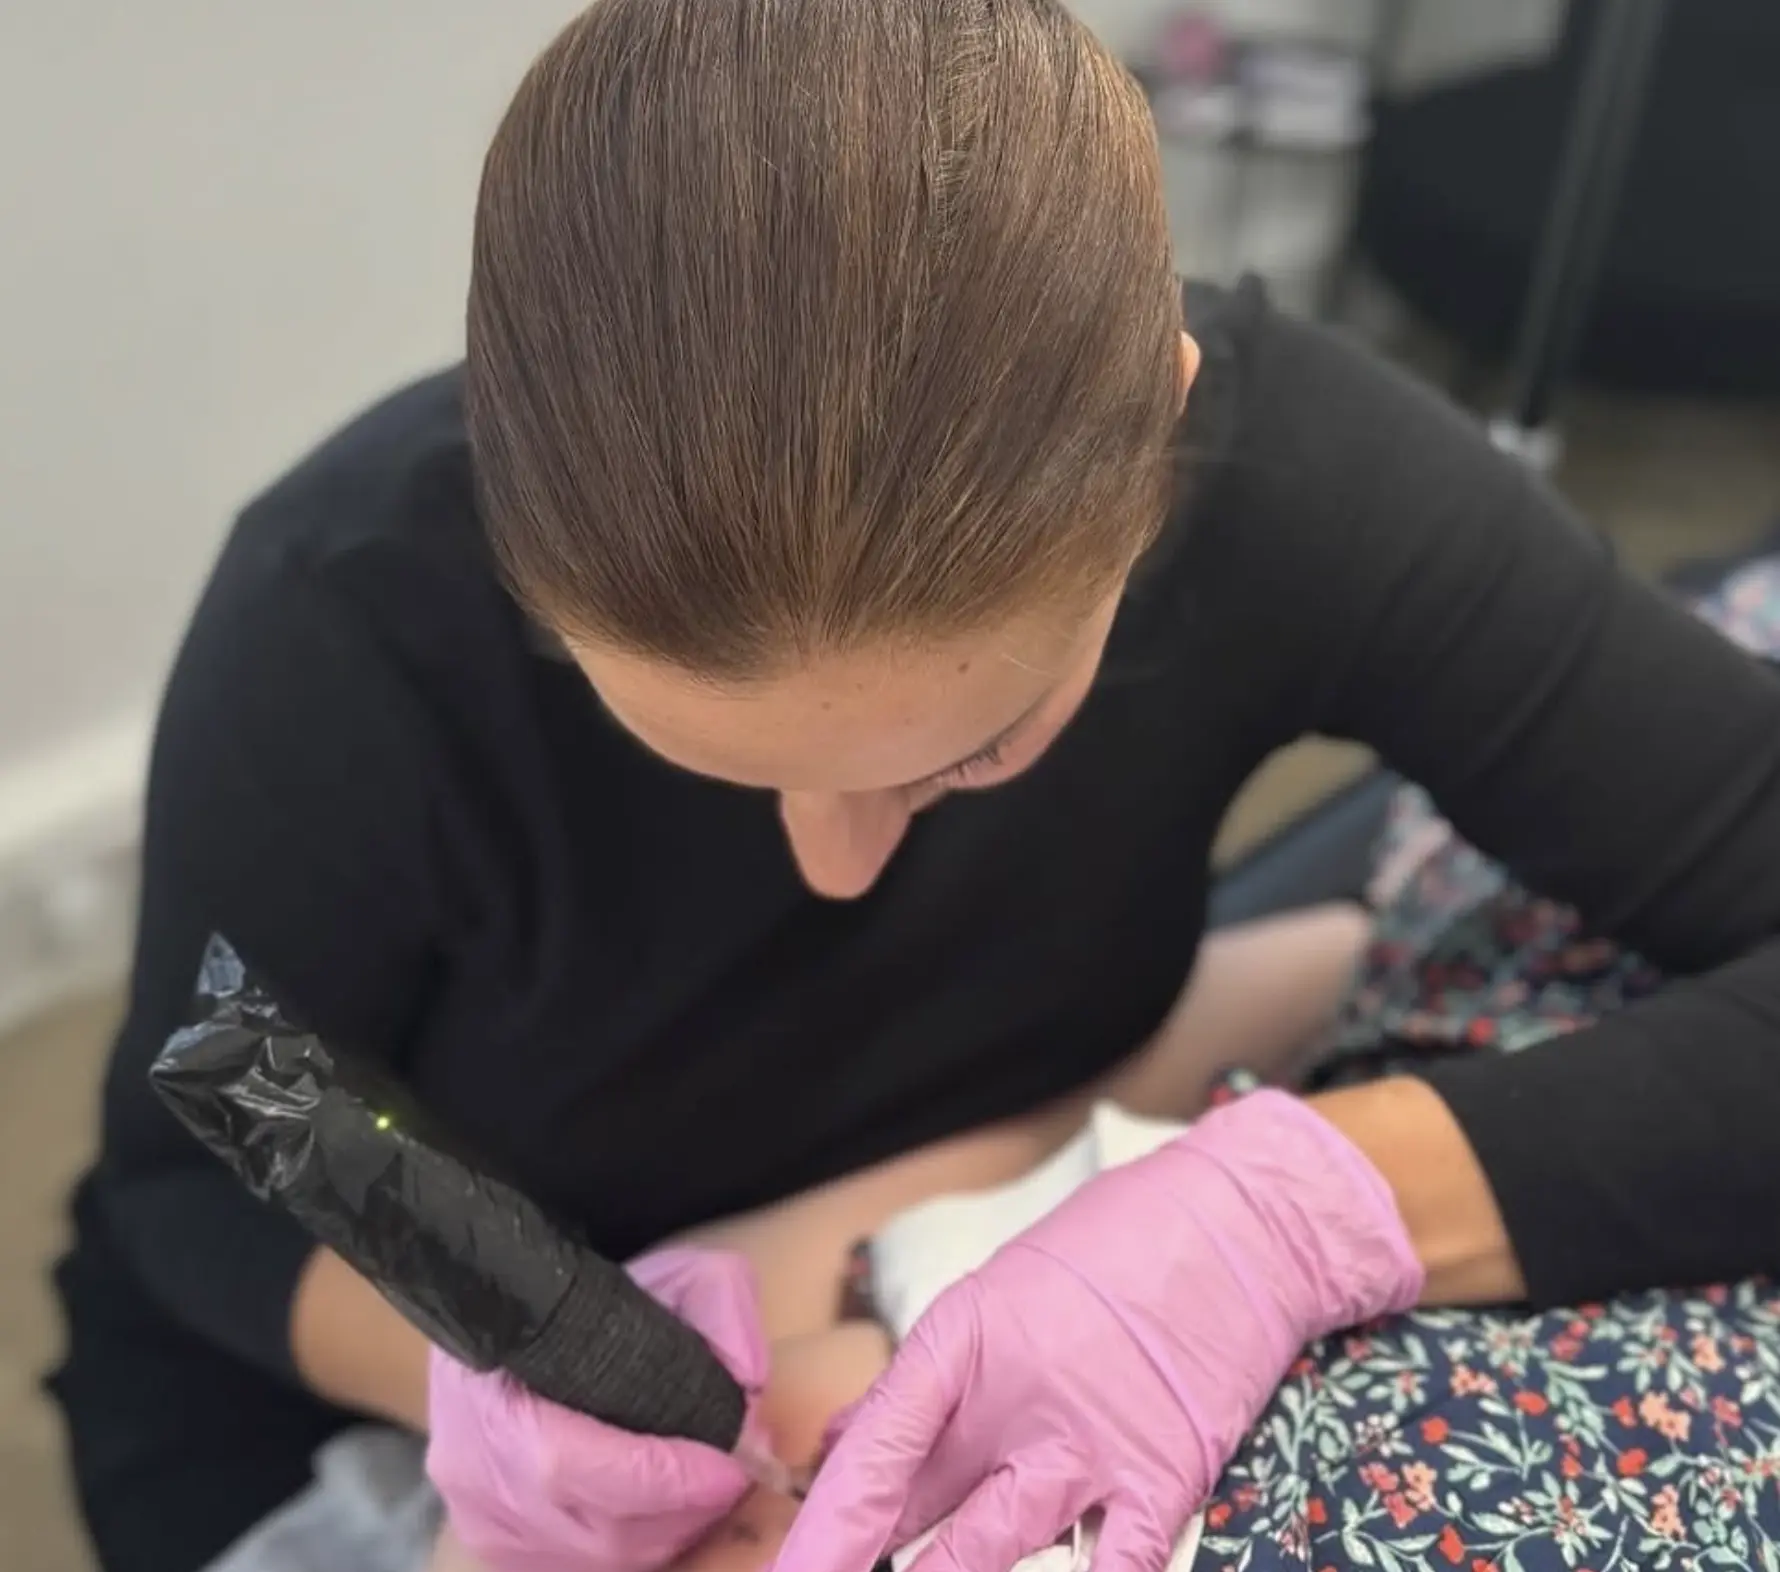
Moving Onto Real Models: Slow, Supervised, And Structured
Don’t make the common mistake of going straight on to “friends and family” for practice – I see far too many trainees getting it wrong with infections and bad sterilisation procedures. I mean, I’ve seen so many dodgy early tattoos that I could fill a whole album full of them. When you move from your fine line tattoo course into actually working on real skin, you want to get it right, so go at a slow pace and get some proper supervision.
What A Proper Model Phase Looks Like
First off, you start with:
- Those tiny, small test tattoos that help you get a feel for real skin
- Simple black & grey lineworks to build up your skills, not the fancy stuff yet
- Basic designs that don’t require you to be a genius to do
Your supervisor will be looking out for:
- How you place your stencil work
- Needle depth
- Stretching out the skin in the right direction
- Cleaning up after yourself
- How you handle the ink and the machine
- Keeping everything clean and safe
- Making sure you’re following proper hygiene rules
How Long Will All This Take?
Across Melbourne-based fine line tattoo courses and studio mentoring, most artists need:
- 5-10 practice models before you start to feel confident\
- 10-20 models before you start to see nice, clean healed results
Hygiene – You Get the Idea
Even though it’s just practice, you still need to stick to proper sterilisation procedures, follow the rules for infection control, sort out your sharps, use your PPE, client safety protocols and all that jazz – look to the Australian bodies for the proper way to do it.
How Long Until You Can Tattoo Independently?
Here’s what I see most often:
| Student Type | Avg Time To Confident Client Work | What Helps Most |
|---|---|---|
| Total beginner | 6–9 months | Consistent daily line drills; machine control with artificial skin |
| PMU artist transitioning | 3–6 months | Depth adjustment; improved stretch techniques |
| Tattooer with prior experience | 1–3 months | Learning delicate single-needle configurations |
The Importance Of Patient Progress
Industry surveys (2023-2024) show that a whopping 82% of inexperienced artists who rush headlong into doing client work end up with disaster – blowouts or patchy pigment retention. And it’s not hard to see why – slow and steady is really the way to go: it’s smooth, safe and much less likely to go wrong.
Building Your Tattoo Portfolio The Right Way
Your tattoo portfolio is more than just a pretty picture gallery – it’s your lifeblood, your client pipeline. Whether you’re hoping to land a spot in a studio or strike out on your own, a top-notch portfolio will give you a leg up because it shows that all that time you spent honing your fine line tattoo skills is actually paying off in terms of producing clean, healed results.
What To Include
- Close-up shots of your linework
- Pics of your healed work (anywhere from 4 to 8 weeks on)
- Before-and-after shots of your stencil to the final work
- A range of tattoo designs that reflect your personal style
- Documented progress shots on synthetic skin
What To Avoid
- Over-filtered photos
- Cropping out mistakes
- Relying solely on fresh tattoos
A Practical Tip
Set a reminder to take healed photos of every single model you work on. Your future clients will be way more confident in your abilities when they can see the real deal – not some hastily taken snap of a fresh tattoo.
Safety, Hygiene, And Melbourne’s Regulations
Whether you’re just starting or you’re already a pro with your tattoo machines, you need to follow all of Melbourne’s health and safety regulations.
What You Need From Day One
- Single-use needles – no exceptions
- Sterile cartridges – same thing
- A sharps container to keep everything tidy
- Approved disinfectants to get the job done
- Sterilising equipment – good quality stuff, not that dodgy second-hand stuff
- And of course, proper sterilisation procedures
- Bloodborne pathogens certification – nobody wants to get sick on the job
- Knowledge of bloodborne pathogen risks – ditto
- And some training in infection control – you can never be too careful
Melbourne Insight
Humidity can wreak havoc on your stencils and how they wipe off, and in the summer, you’ll find that overworking the skin can lead to some pretty bad after effects – so watch out for how your artificial skin reacts and take that into account in your practice sessions.
Developing Your Signature Style
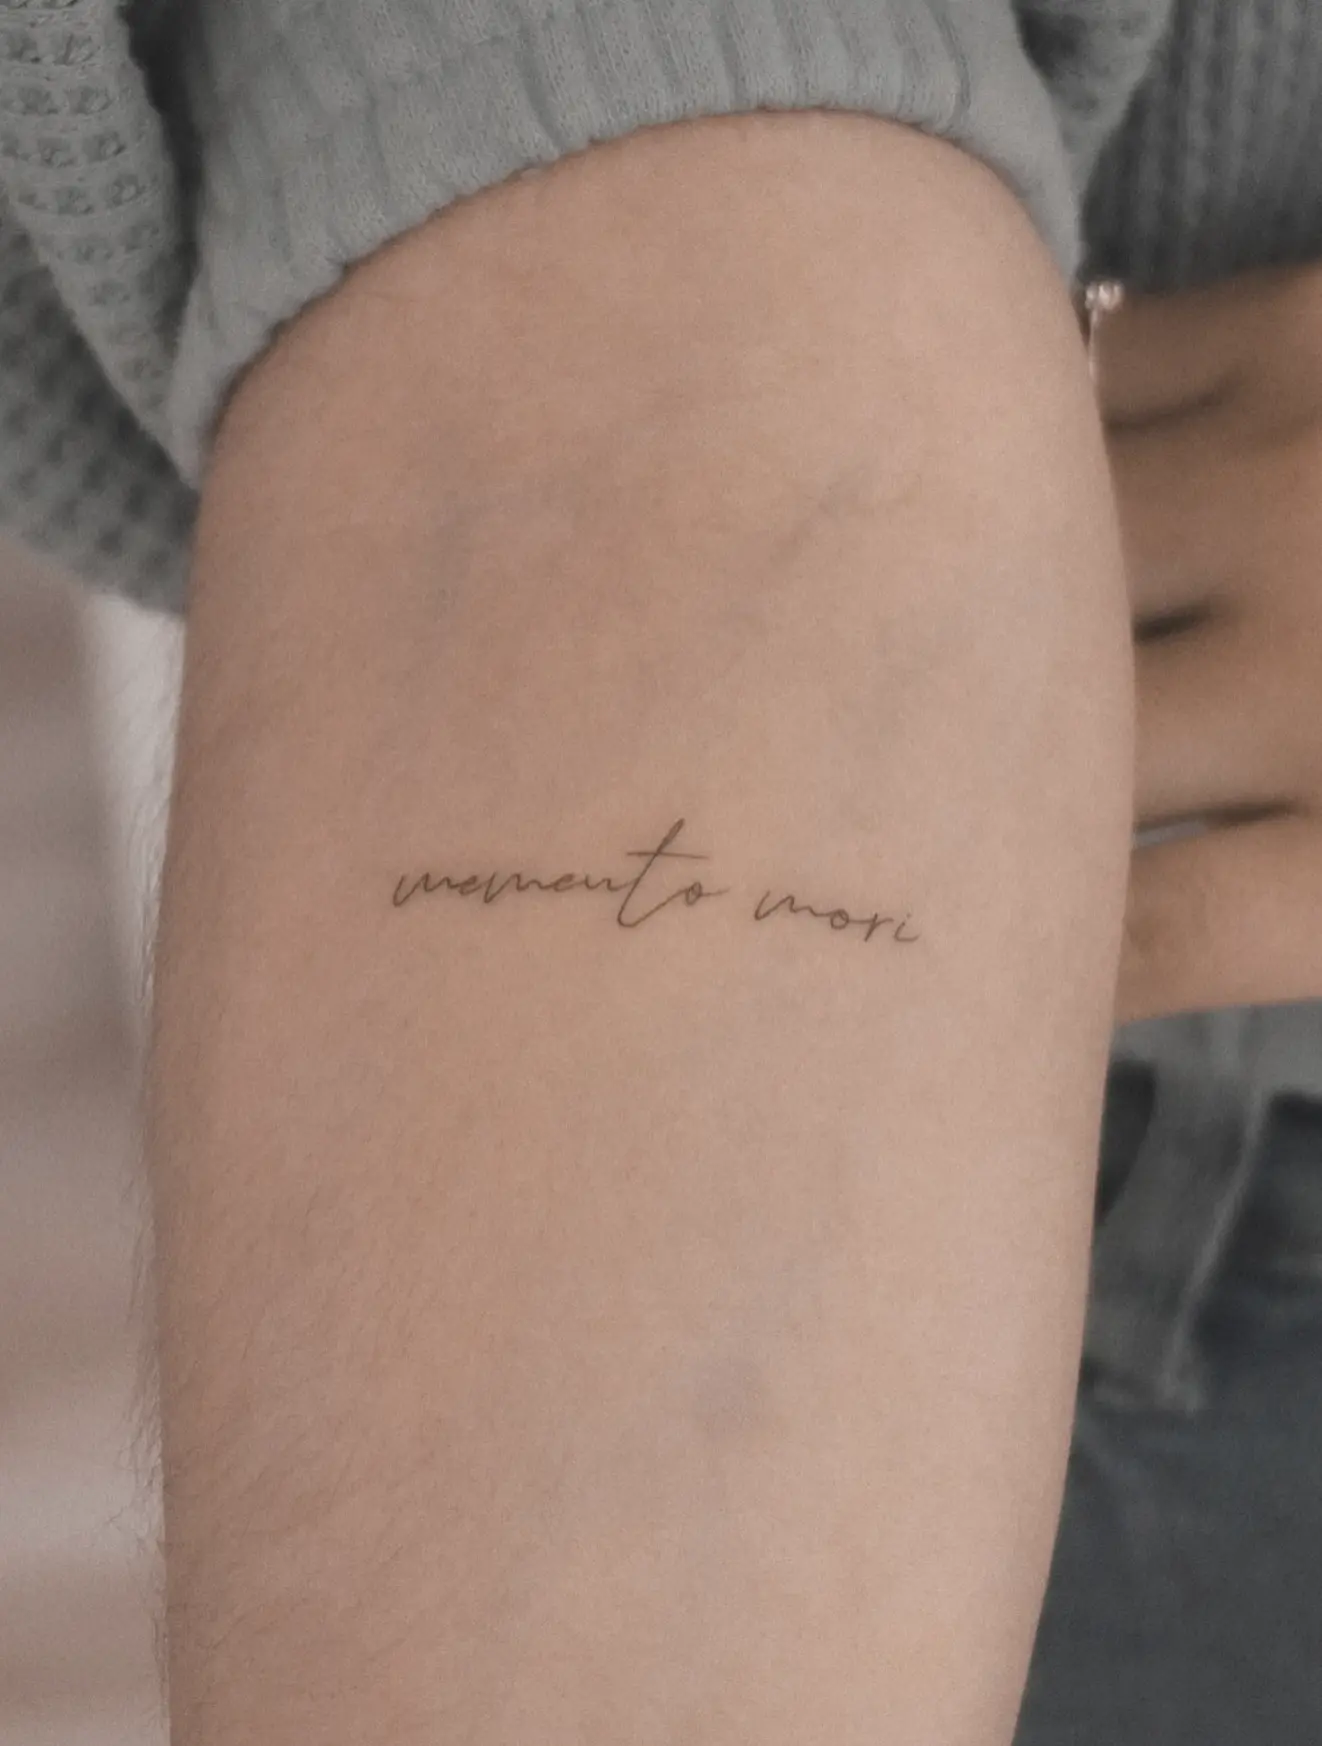
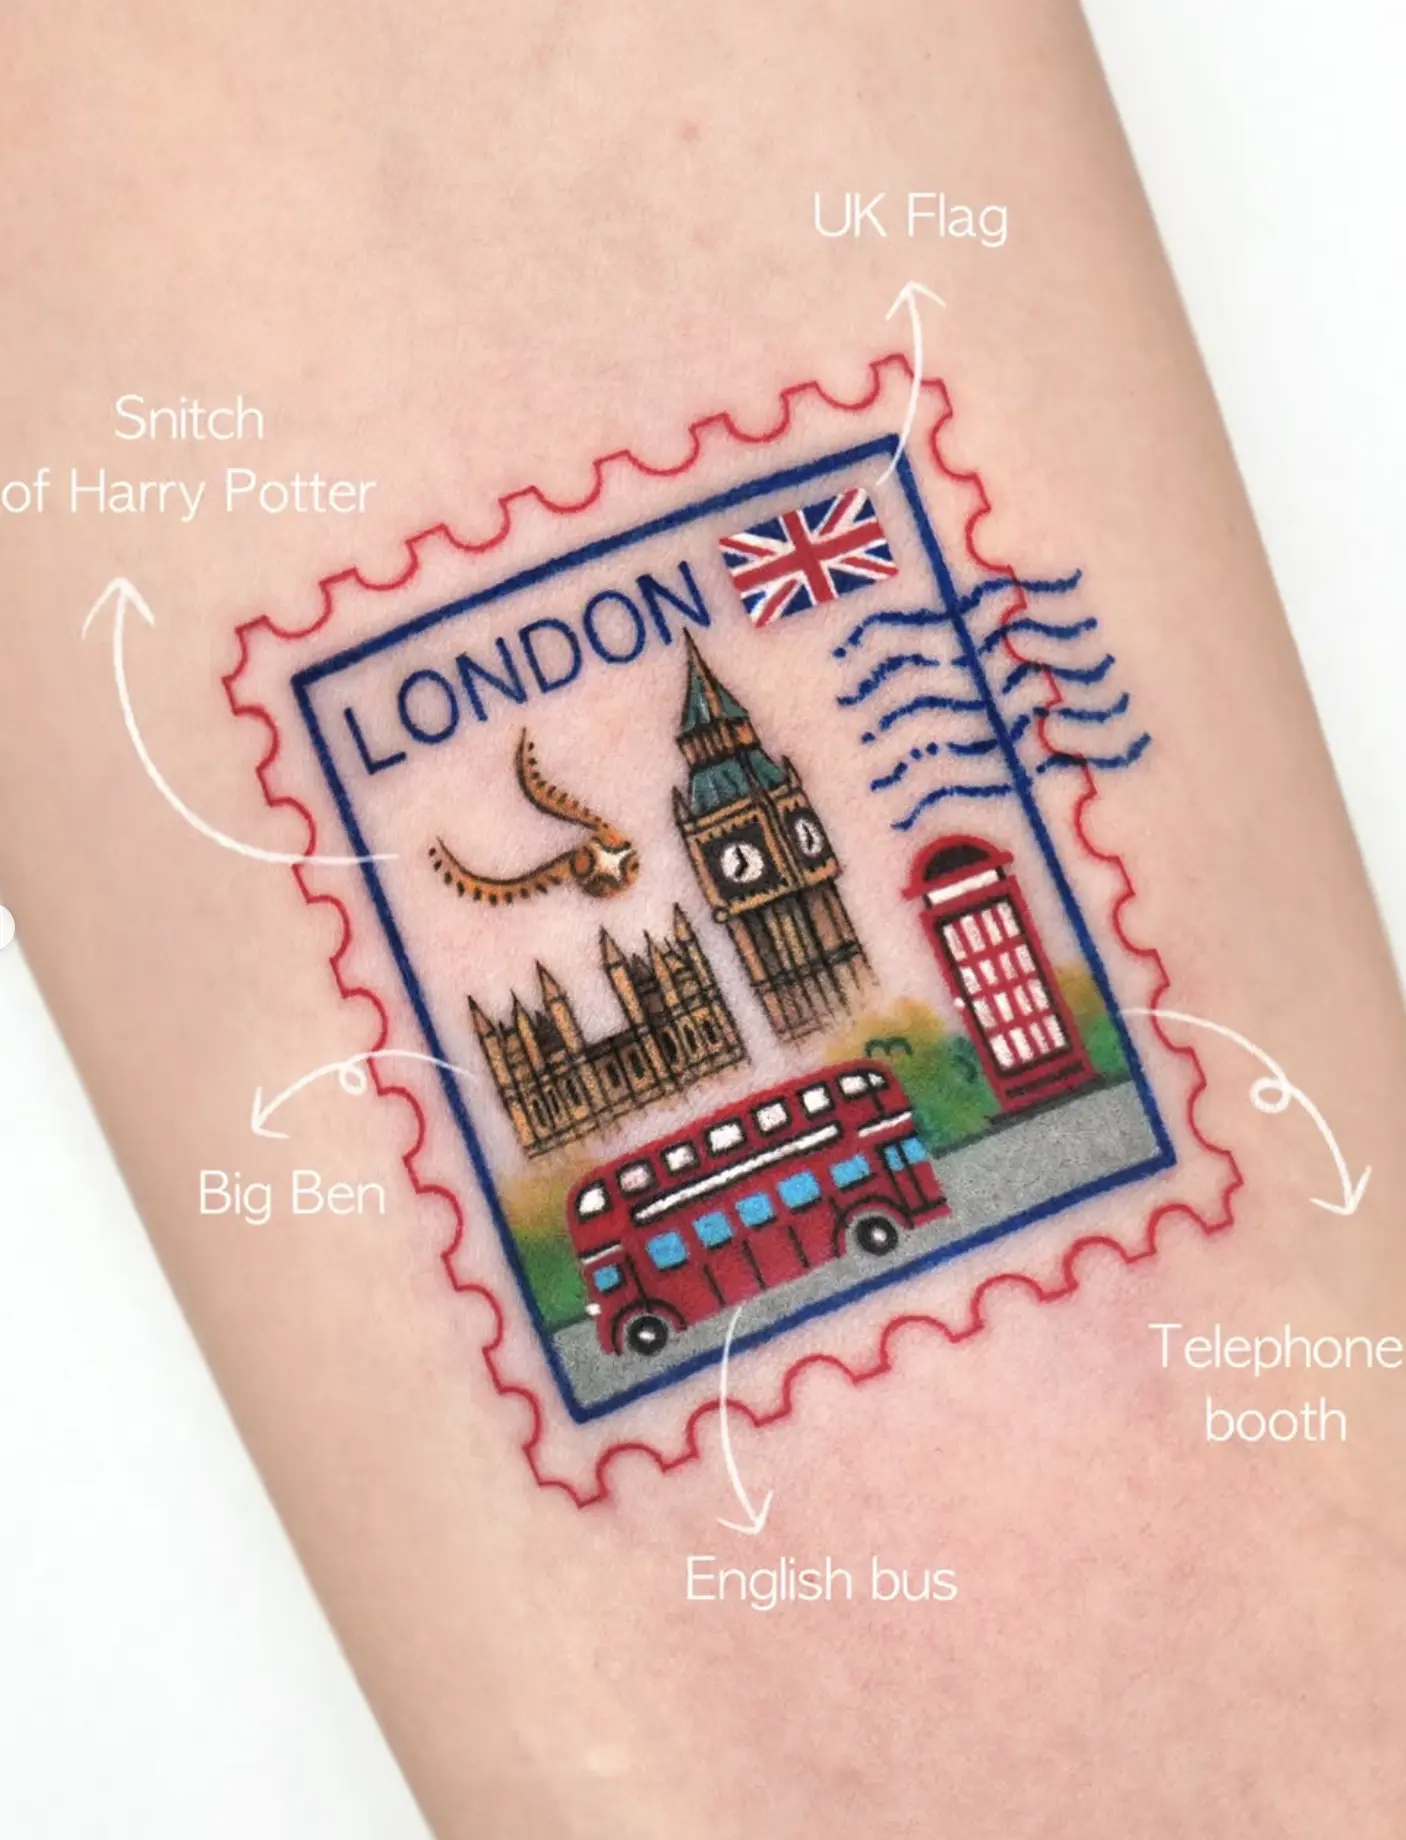
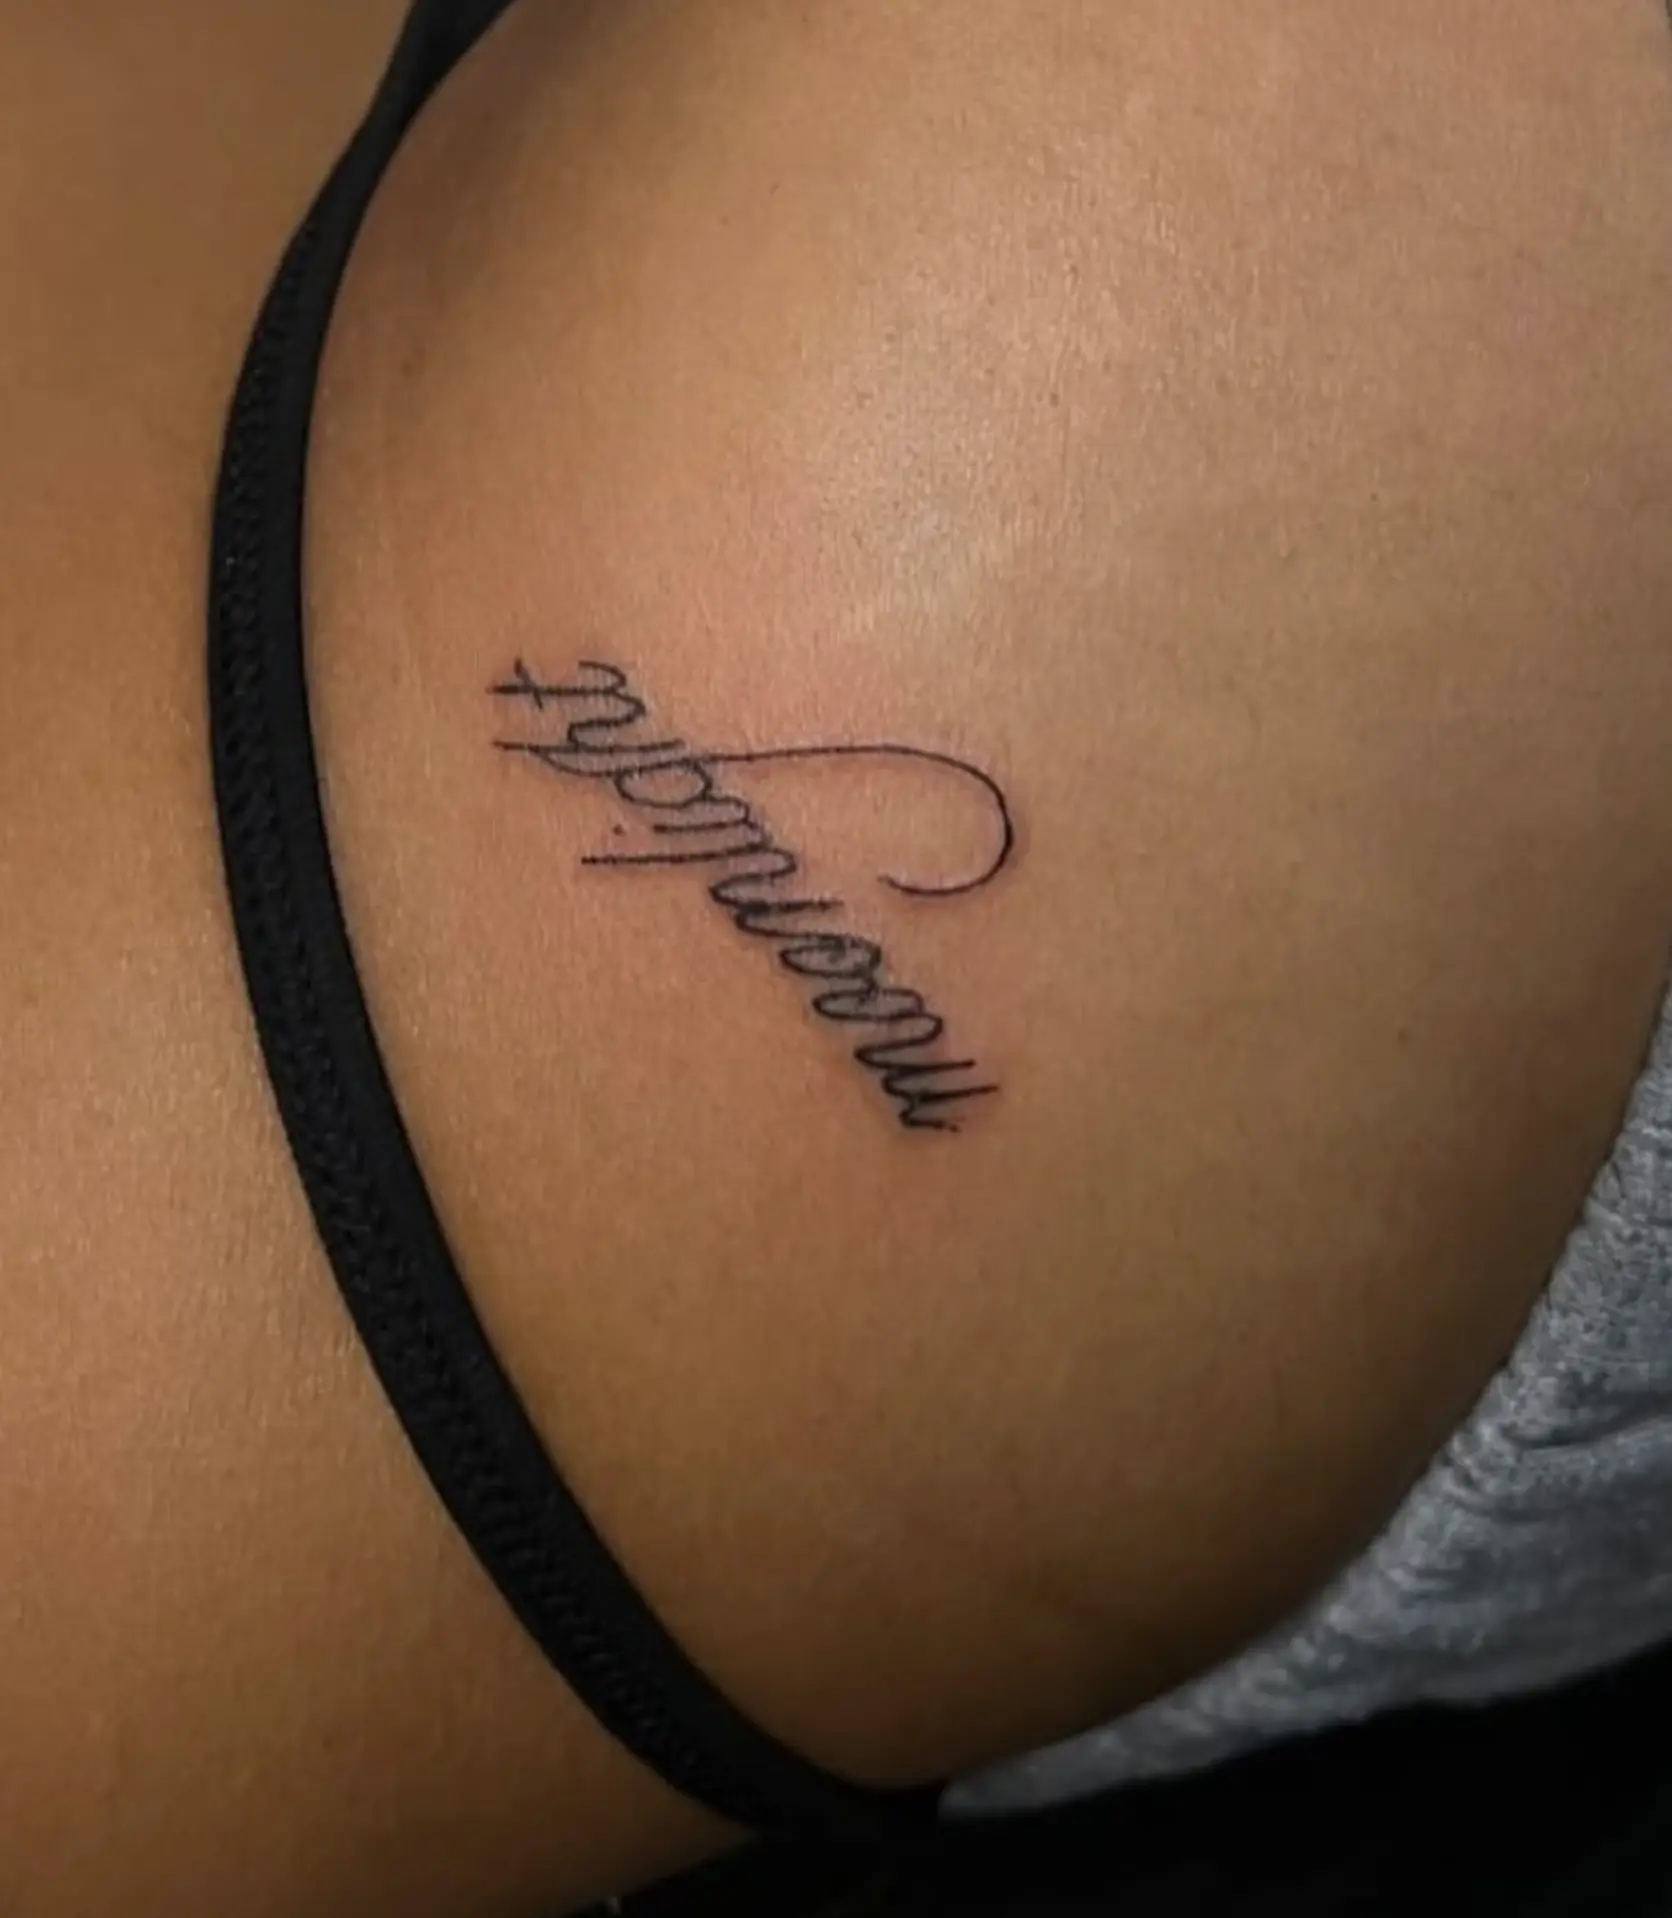
Fine line tattoo designs aren’t just about doing tiny work – they’re about creating a whole aesthetic. And Melbourne clients love artists who have a clear identity – minimal, botanical, ornamental, celestial, script, or micro tattoos – take your pick.
How To Develop Style
- Daily sketching
- Testing needle configurations
- Repeating motifs
- Studying healed pigment retention
- Analysing what clients ask for in consultations
Studio Story
One of my students decided to focus solely on botanical black and grey motifs and guess what – within months, she’d built up a strong client pipeline and was basically getting orders in left and right.
Pricing: When You Should Start Charging
Once you’ve got some clean healed lines under your belt and you’re on top of the safety and hygiene front, then it’s time to start thinking about your pricing structure.
- Free-of-change supervised models for when you’re just starting out
- Basic designs ($50-$120)
- Some micro tattoo work ($120-$250)
- And of course, advanced custom work ($250-$600+)
Melbourne pricing varies, but that’s a good rough guide to start with.
When You’re Ready For A Studio Role
When you’re looking to join a studio, they want to see:
The Non-negotiables
- Some seriously impressive healed work
- Consistent line quality
- A solid grasp on infection control
- Knowledge of skin anatomy
- Good sterilisation techniques
- And a very sensible approach to client consultations
What Sets You Apart From The Rest
- A unique design identity – that thing that makes you stand out
- Being able to communicate clearly with clients – and possibly their friends and family too
- A safety-first mindset – always a good thing
- Healed photos that show you’ve got the real goods
Studios want to see artists who are steady and reliable – not just some bright-eyed newbie who thinks they can do it all and then promptly gets it all wrong.
Final Reflection — And A Quick Encouragement If You’re On This Path
Your journey with fine line tattooing doesn’t end after you’ve completed the course – it’s only just beginning. The next few months will be a real trial by fire, shaping not just your technique and style, but also your confidence as an artist. You’ll need to commit to practice with a clear idea of what you’re trying to achieve, and don’t be afraid to reach out to others when you need a hand
If you’re looking for some one-to-one guidance or just want a fresh set of eyes to take a look at your work, pop by Face Figurati – I’m always happy to chat with new artists and help them get to grips with the world of fine line tattooing.
FAQ
How many synthetic skin sheets should I use before tattooing real clients?
Honestly, I reckon around 20 – 30 sheets is a good place to start – focus on nailing your line work, depth and machine control, and try to get a feel for what works and what doesn’t.
Do PMU artists really learn fine-line tattooing faster?
A lot of the time, yes – but they still need to adjust to the specific demands of fine line work – understanding body and skin anatomy, getting a feel for depth and stretch.
How do I know my technique is ready for models?
When your lines are looking consistent across different machines and artificially created skin, and your practice work is showing up well when it’s healed, you’ll know you’re getting close.
What if my tattoos heal patchy or fuzzy?
More often than not, it’s a depth or stretch issue – a bit of guidance from a more experienced artist should be able to sort you out pretty quickly.
How long until I can work professionally?
Well, it really depends on you – some people are ready to go after 4 months, others take a bit longer – anywhere from 4 – 12 months, depending on how much effort you put in, how your work turns out and how well you stick to the safety standards.